How to Mount our straps with integrated and Unusual Fitments:
Below are instructions for mounting various of our integrated fit straps. I currently offer two options with integrated fit, our ‘Thick Curved Lug System’ (TCLS), which provides an integrated strap fit between the lugs and our ‘Fully Integrated Fit’ (FIF), which includes and TCLS and also is notched at the lugs bringing the strap width to the total width of the lugs. The strap is then most typically tapering back to your buckle of choice.
Although fairly intuitive, mounting straps with our integrated fit options are slightly more complicated, so I have provided these handy instructions which should help.
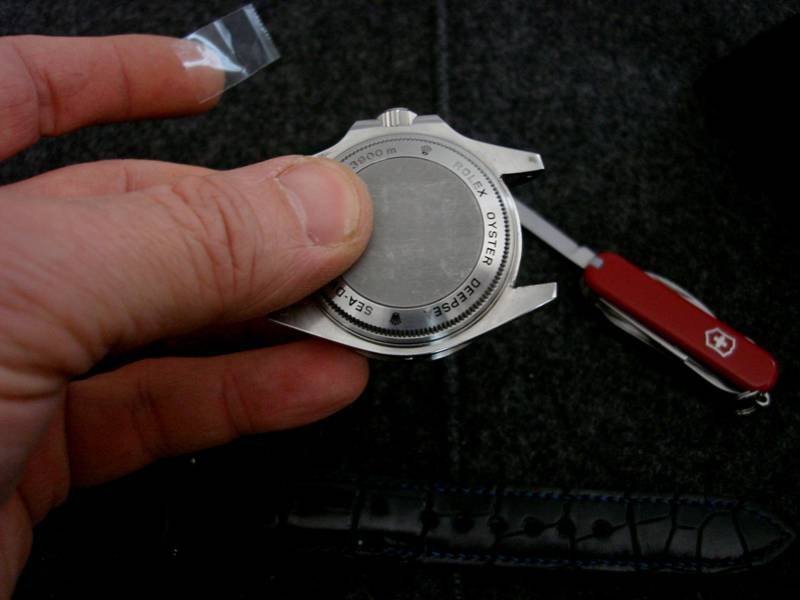
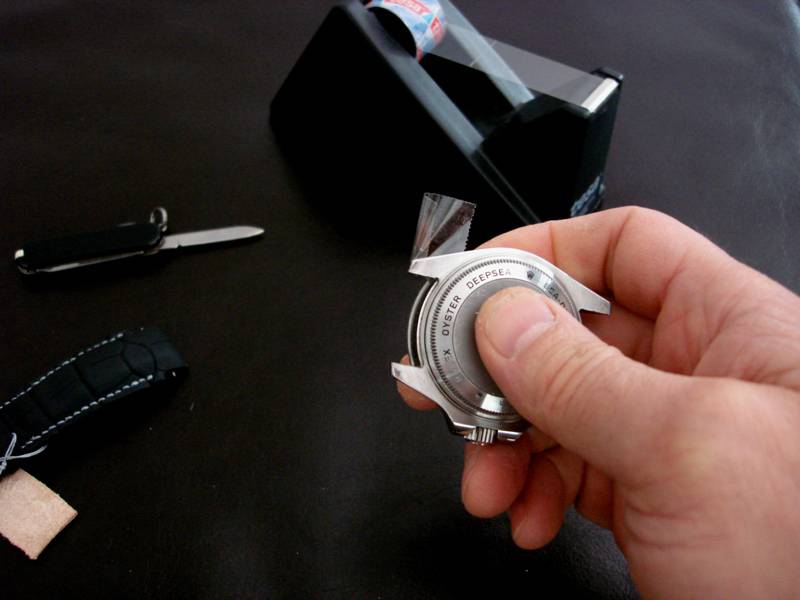
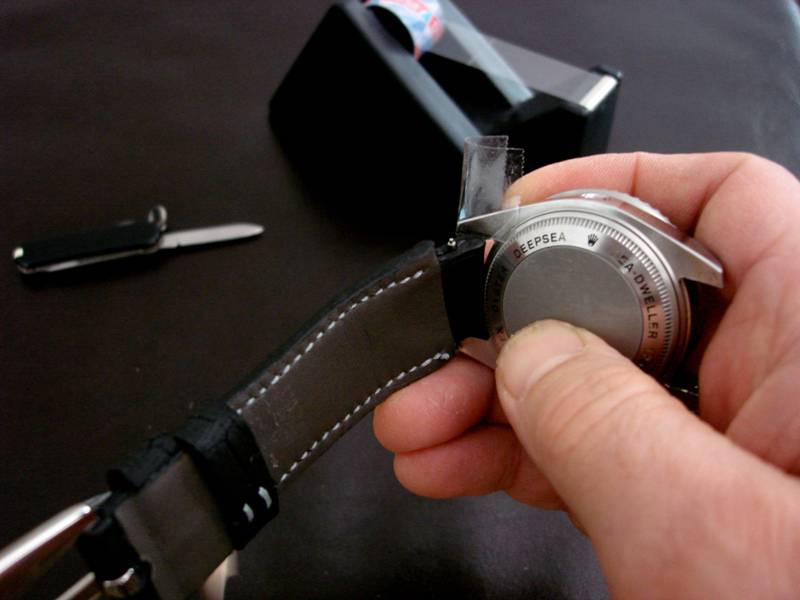
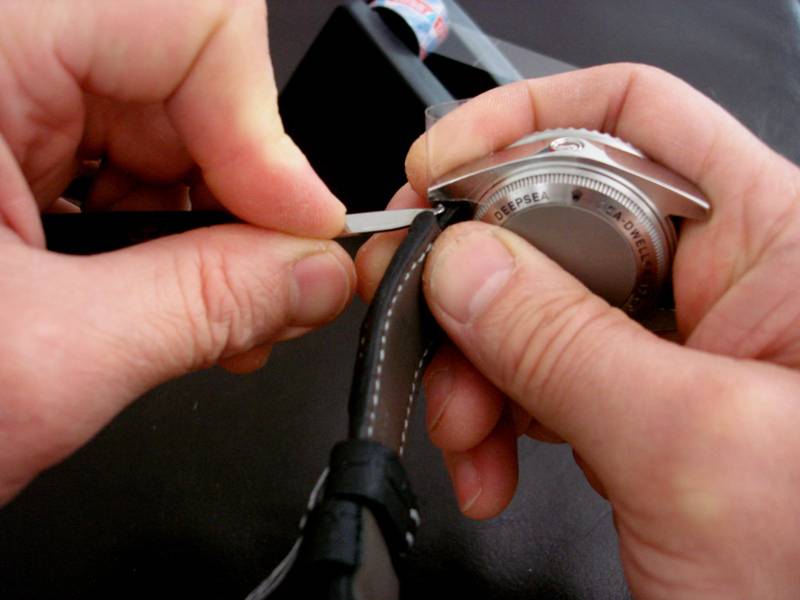
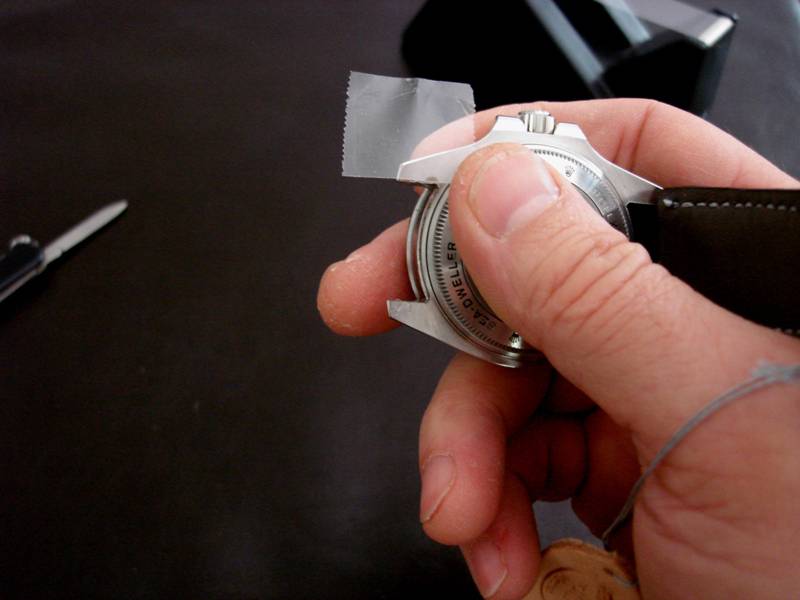
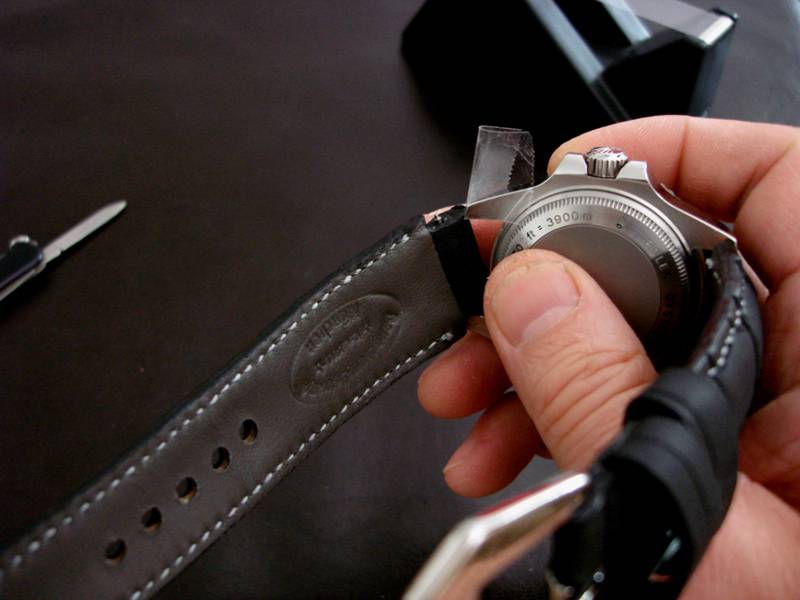
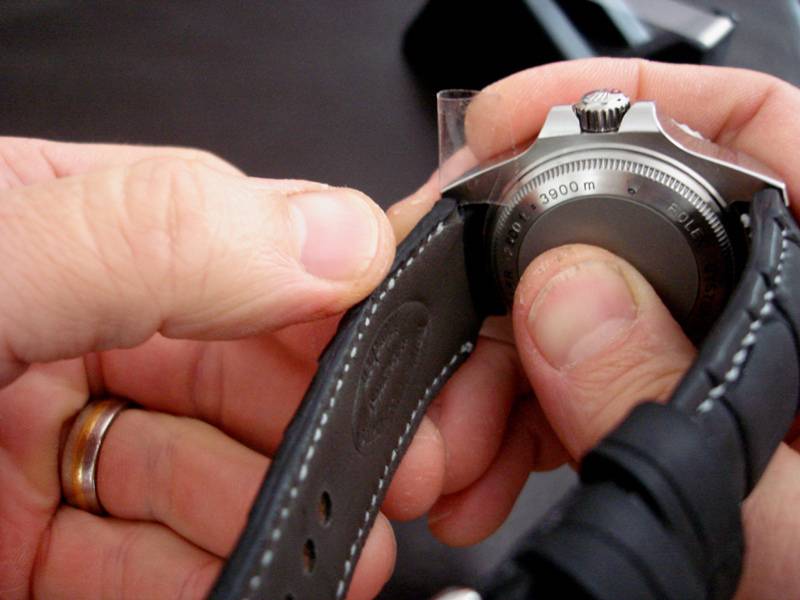
One hint that I have found to be really helpful is that whenever you change our strap (especially those using spring bars is to put a piece of Scotch tape over the lugs to prevent scratching the back of the lugs with either the tip of the spring bar or with the Penknife or spring bar tool that you’ll be using.
Instructions for the proper way to mount straps with ‘Thick Curved Lug System’ (TCLS): [Spring bars]


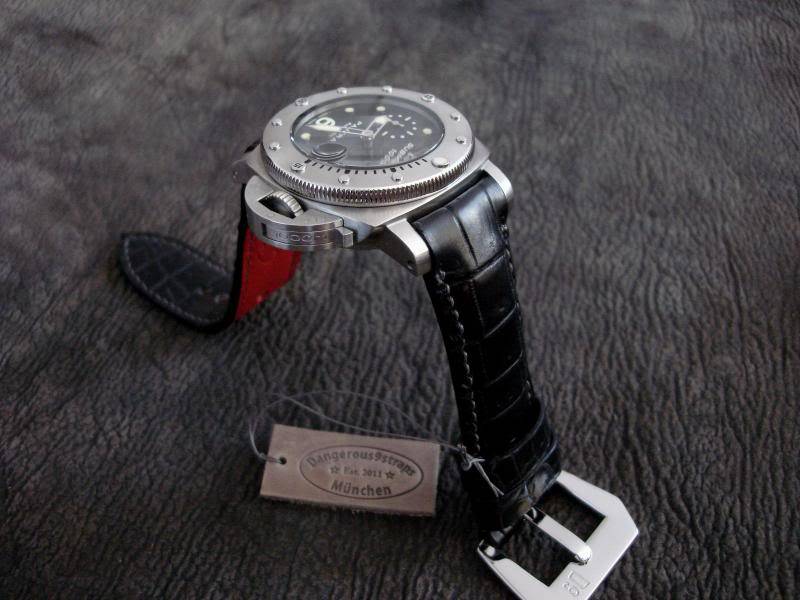
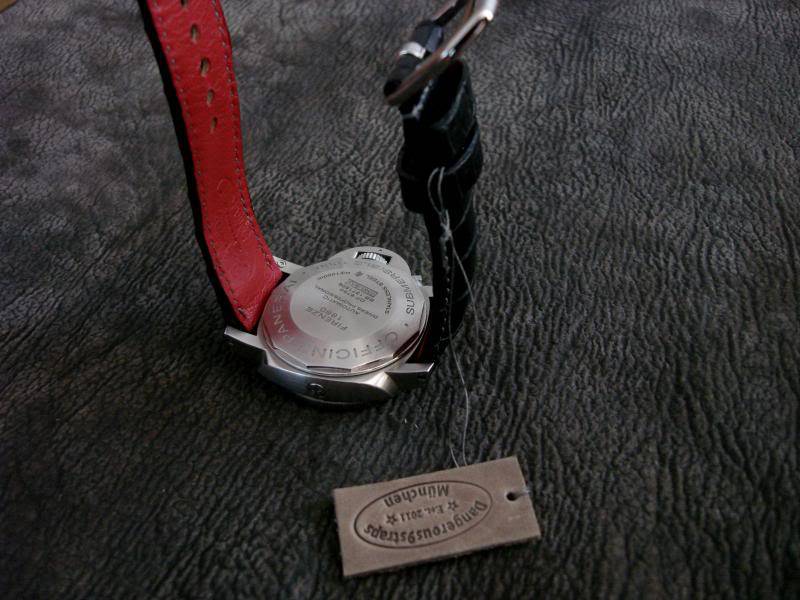
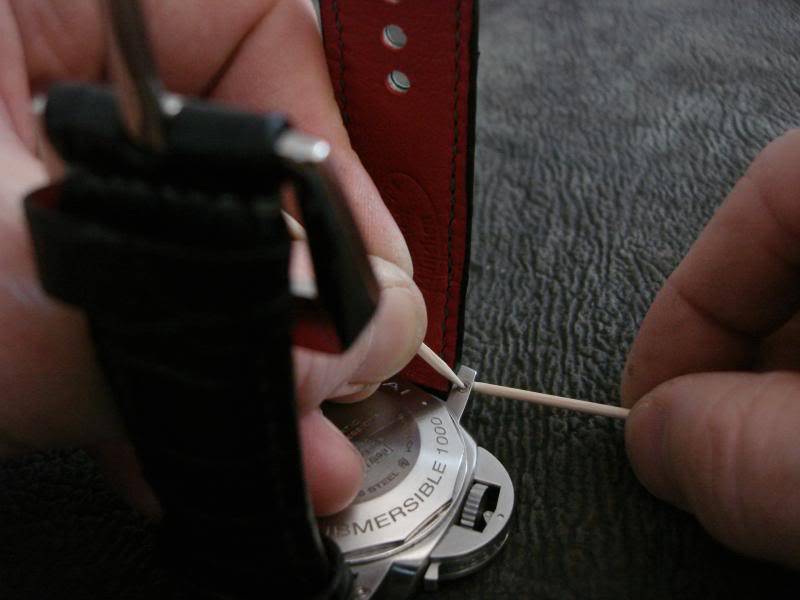
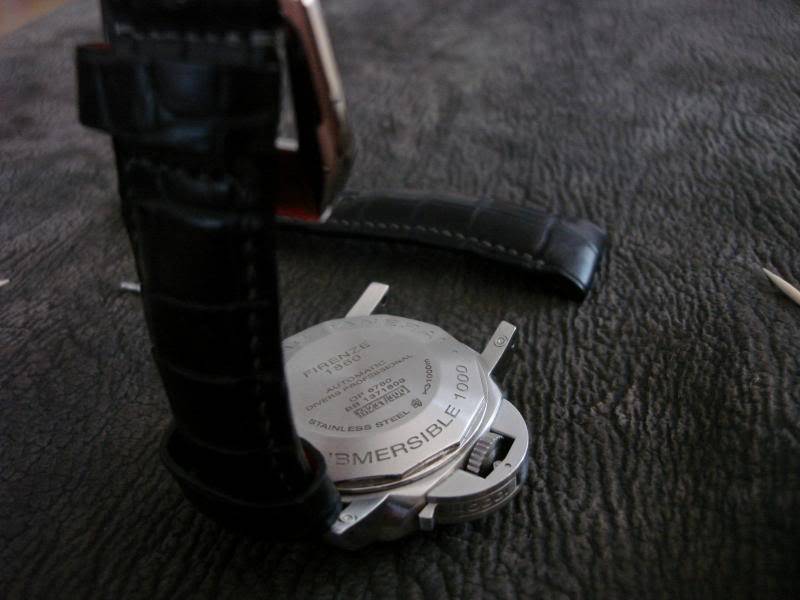
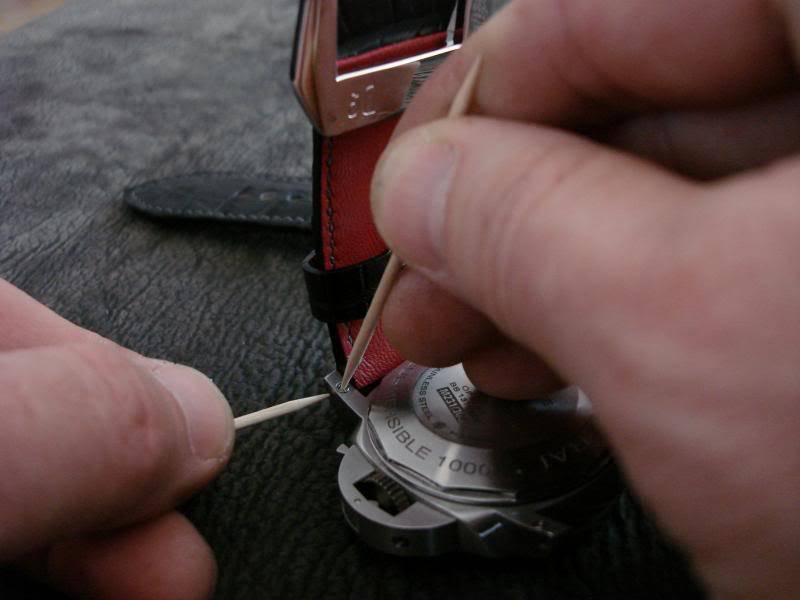
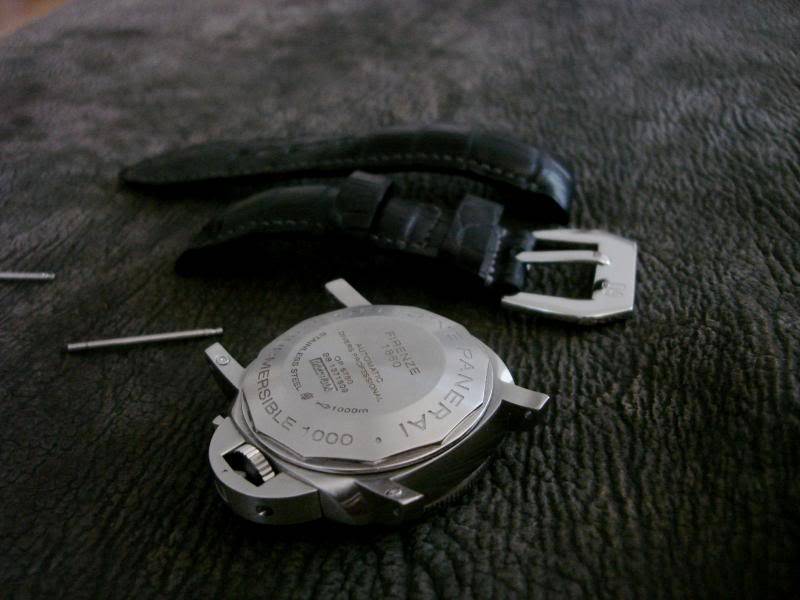
Instructions for the proper way to mount straps with ‘Thick Curved Lug System’ (TCLS): [Panerai]
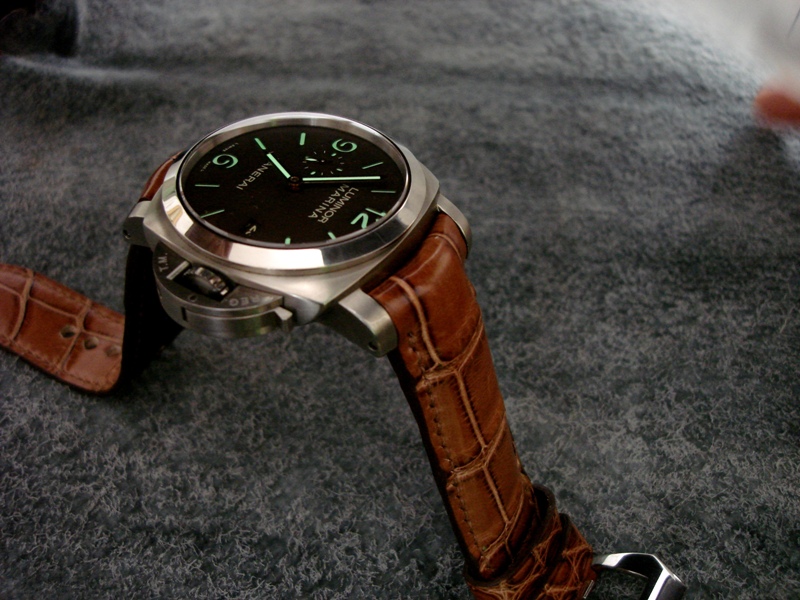
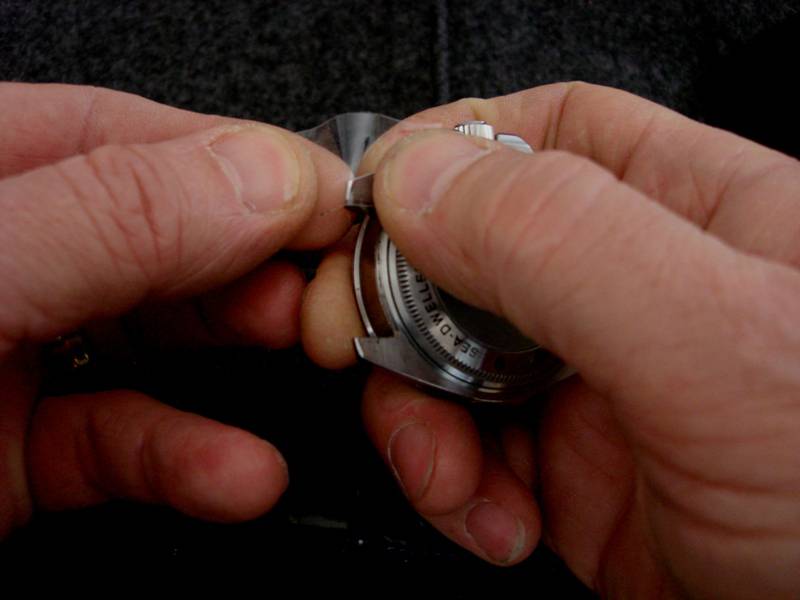
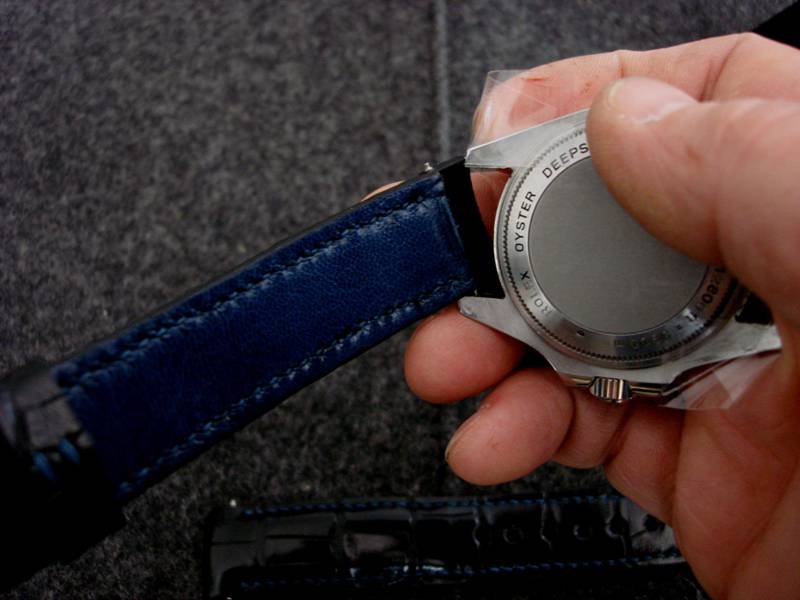
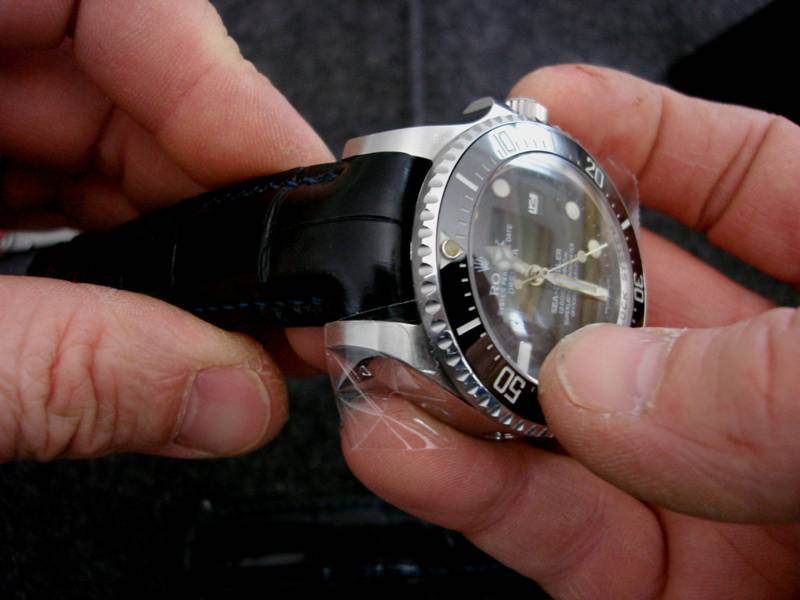
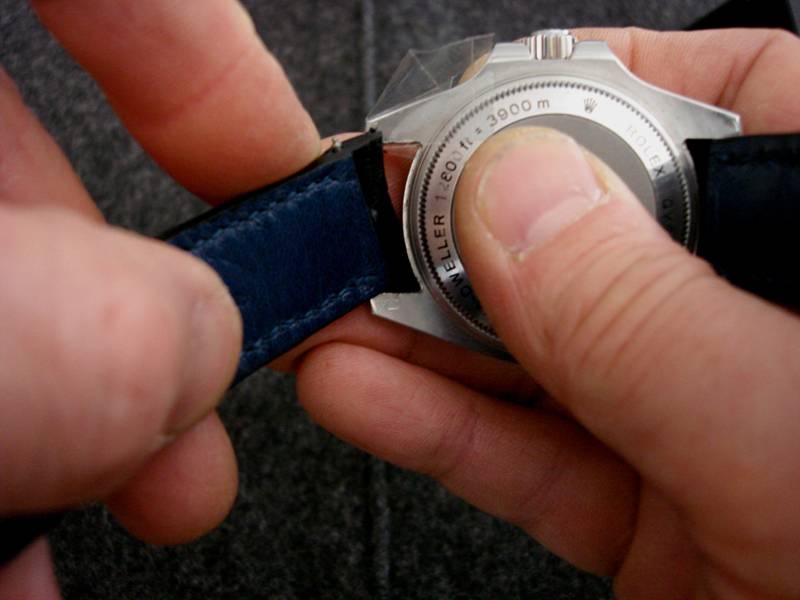
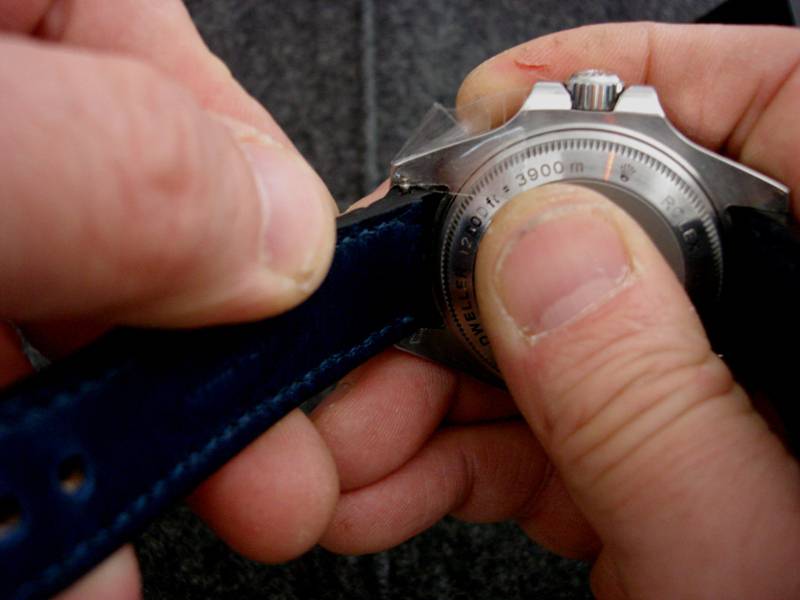
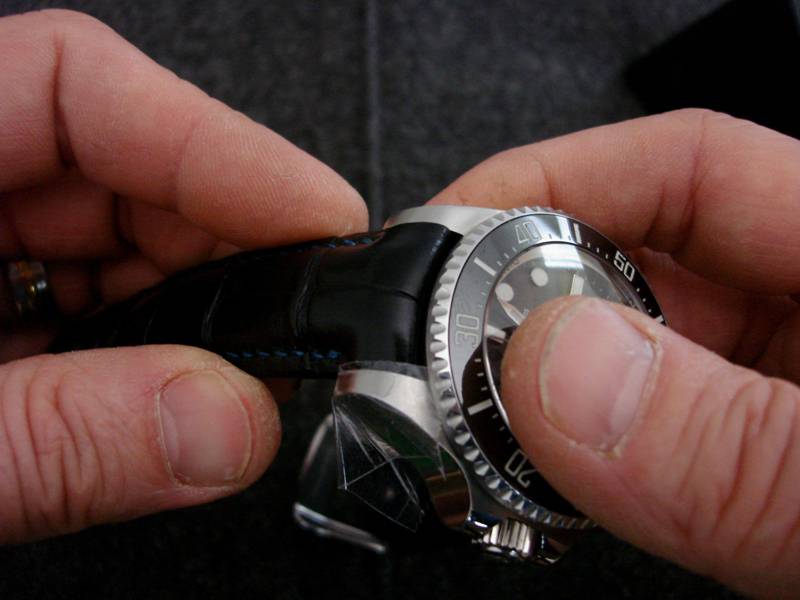
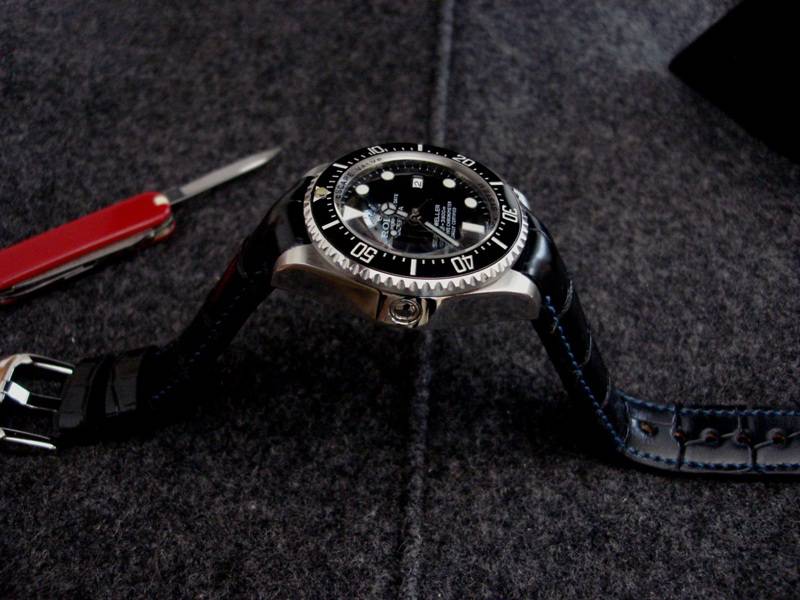
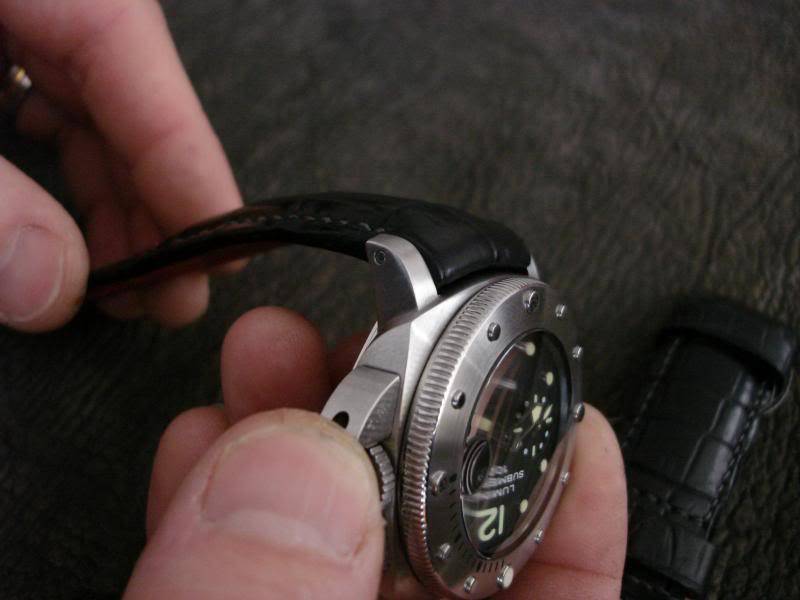
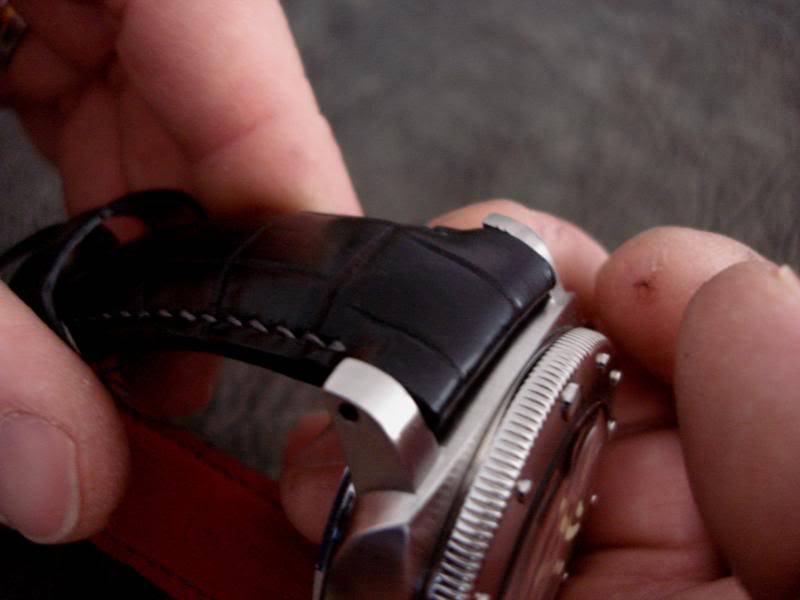
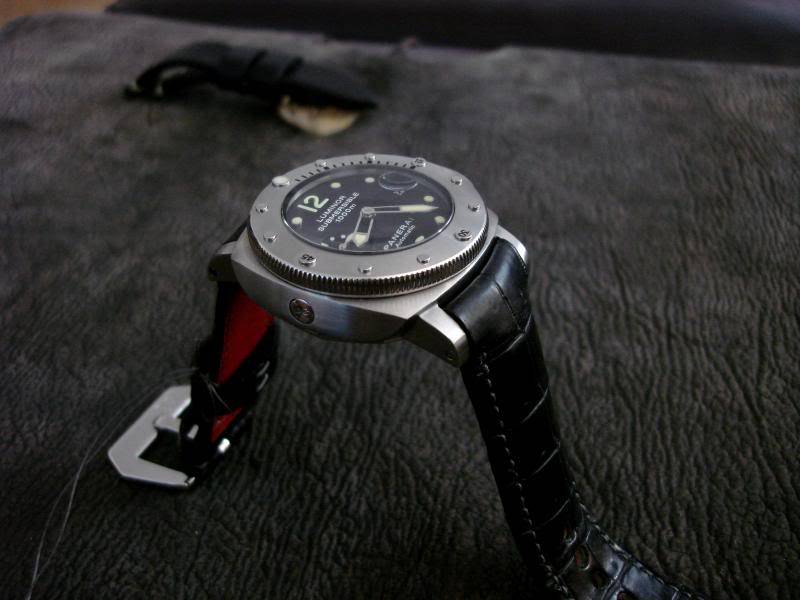
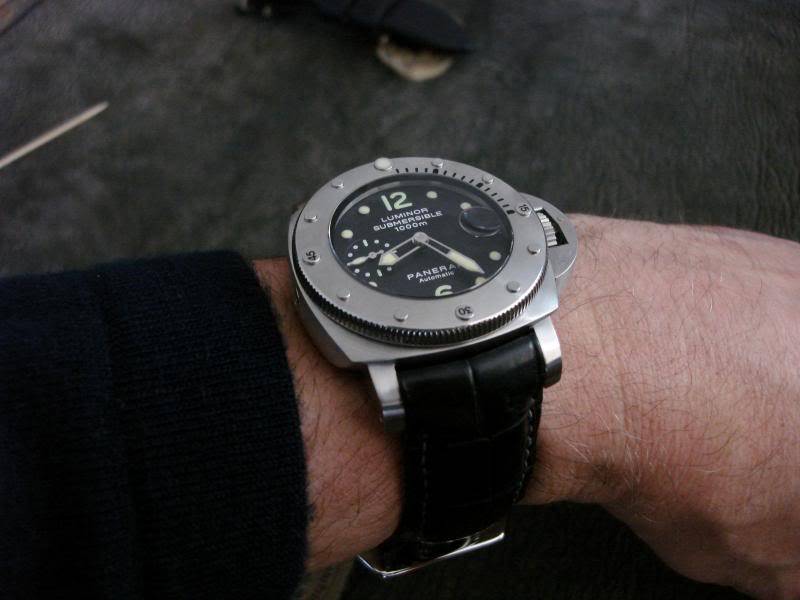
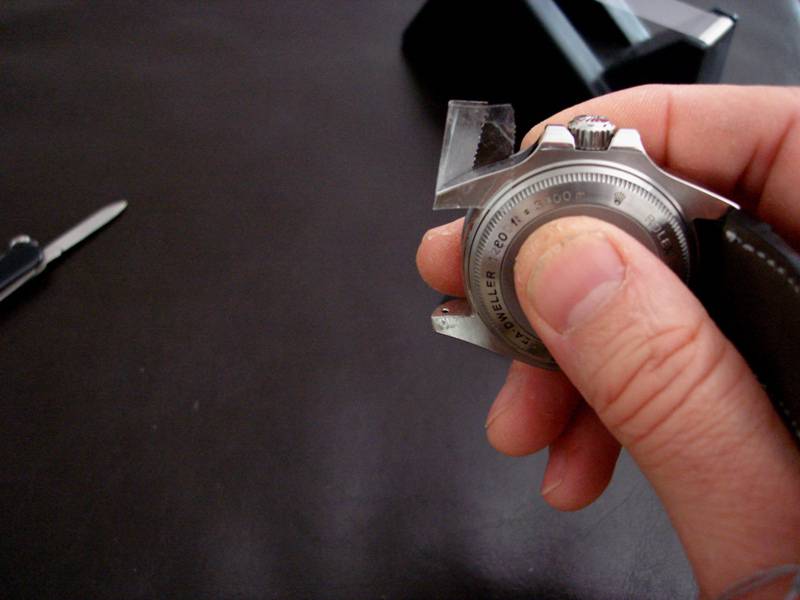
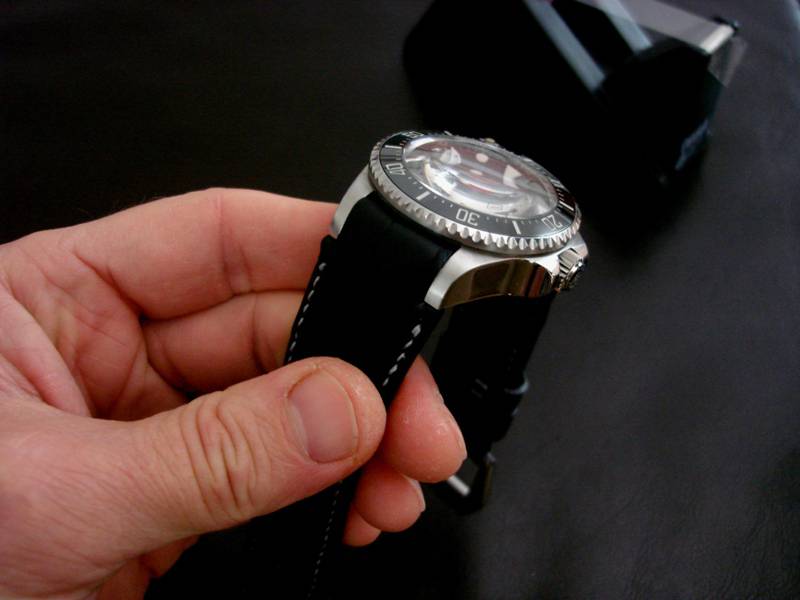
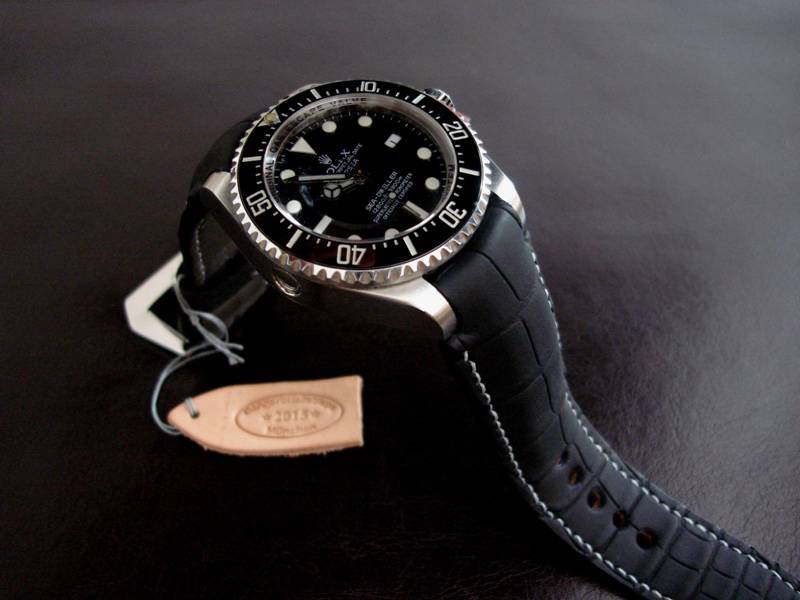
The ‘Thick Curved Lug System’ design, being an integrated strap, will need to be attached to the watch at a 90-degree angle to the watch case. Please see the instruction photo gallery below, which should clarify the proper way to mount your strap. Also (as you can see in the slideshow) after mounting, since these straps have an integrated strap fitment, the watch will not lay flat on its case back and must never be forced into this position – to do so will damage your strap.


Instructions for the proper way to mount straps with ‘Fully Integrated Fit (FIF): [Spring bars]
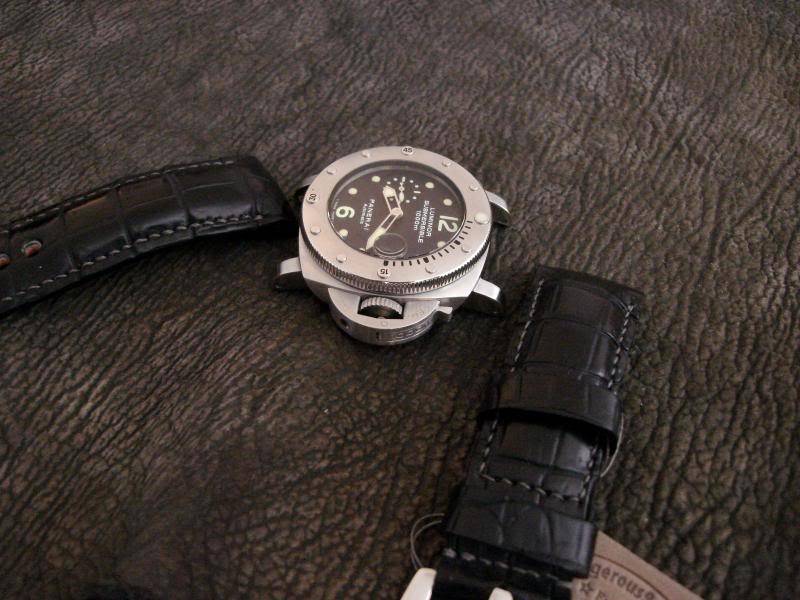
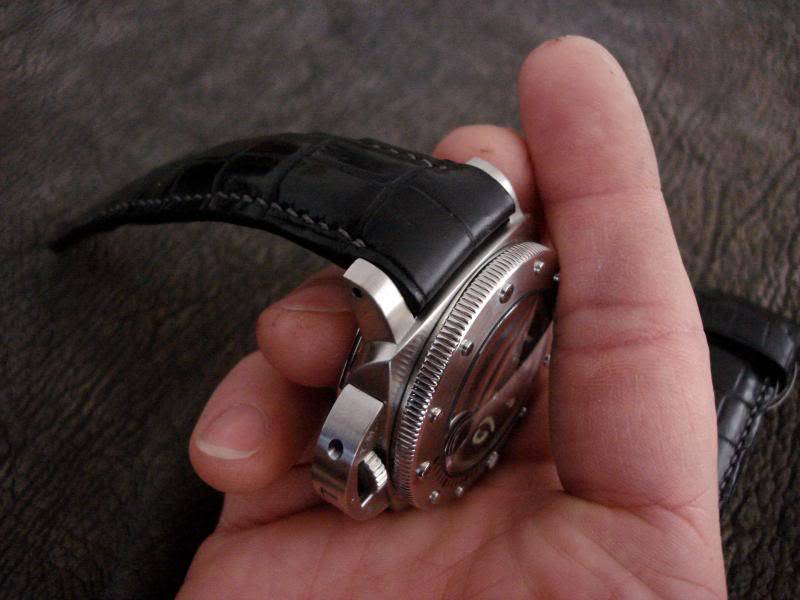
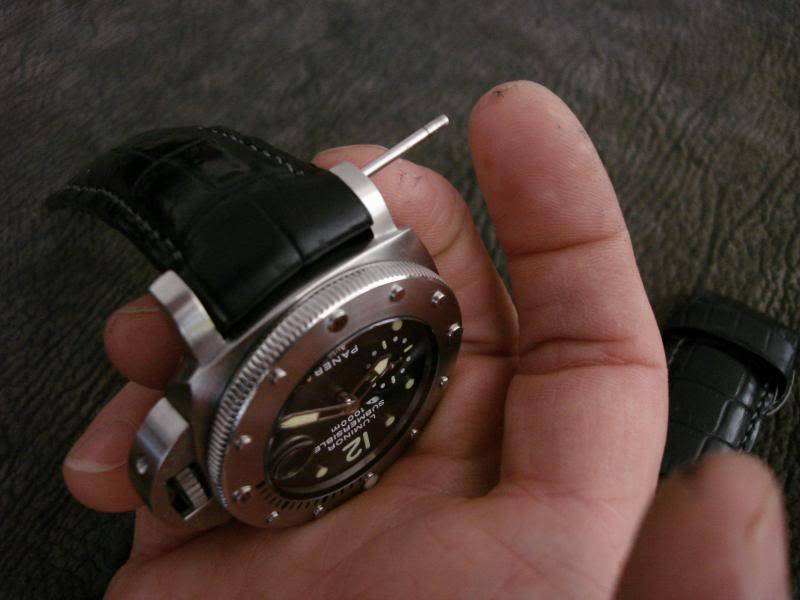
The ‘Fully Integrated Fit’ (FIF) design, being an integrated strap, will need to be attached to the watch at a 90-degree angle to the watch case. Please see the instruction photo gallery below, which should clarify the proper way to mount your strap. Also (as you can see in the slideshow) after mounting, since these straps have an integrated strap fitment, the watch will not lay flat on its case back and must never be forced into this position, to do so will damage your strap.


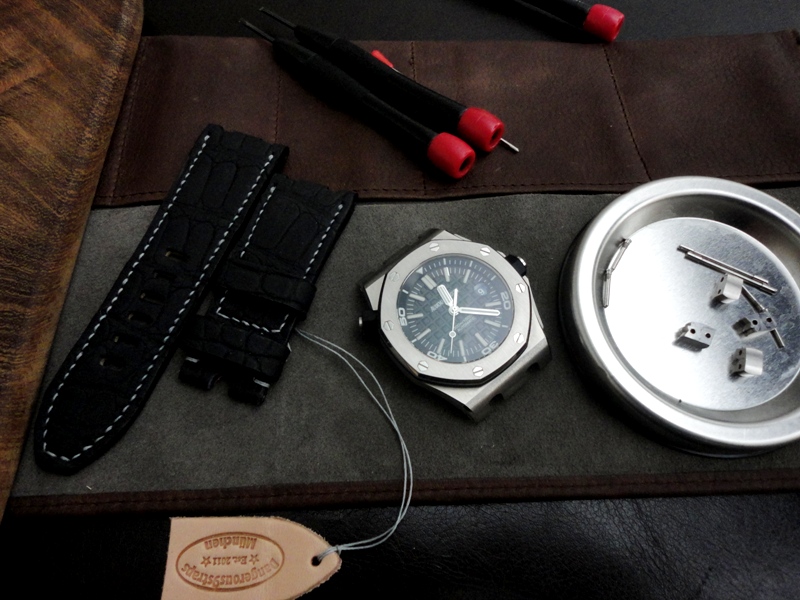
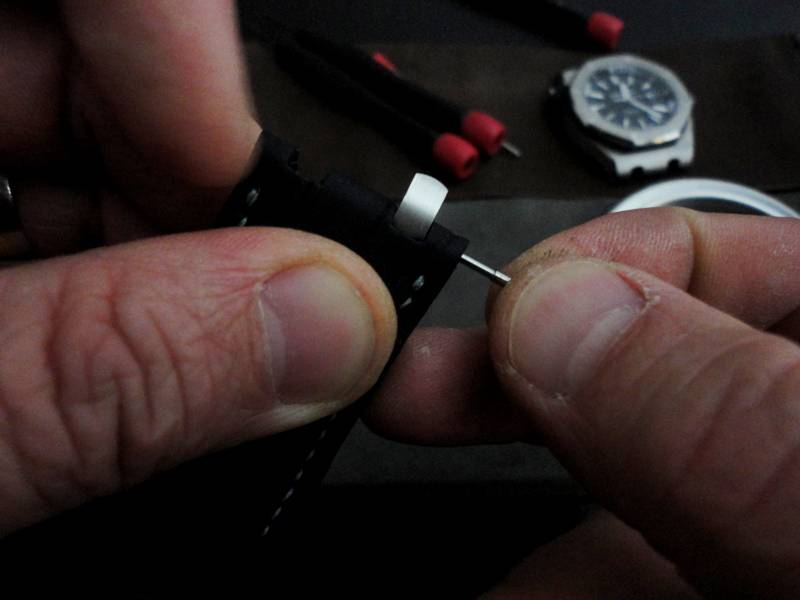
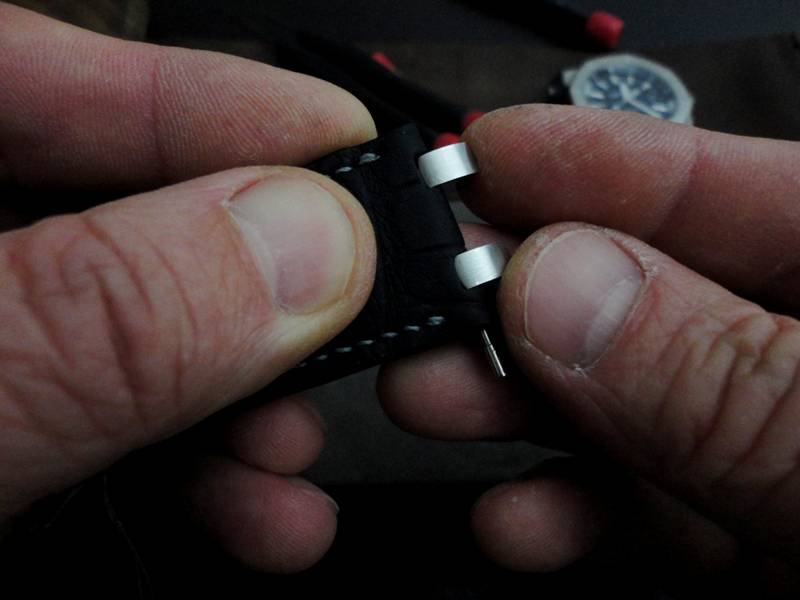
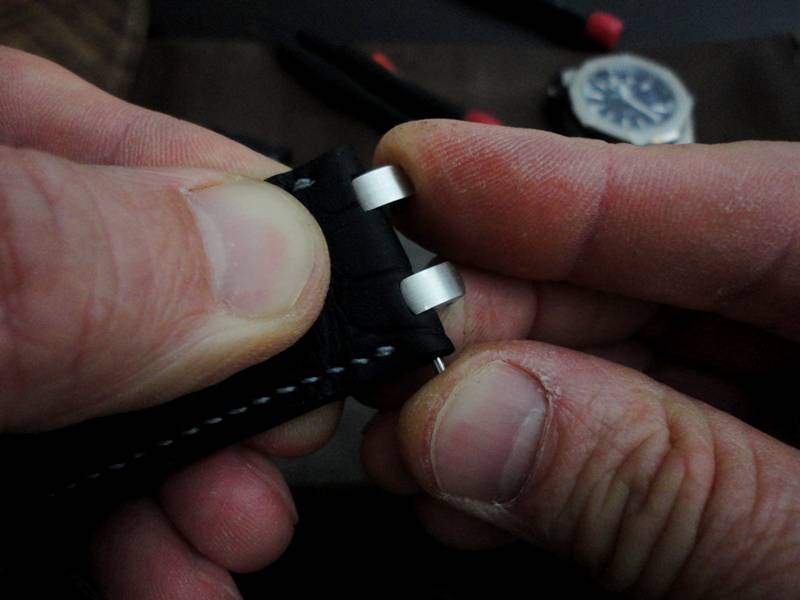
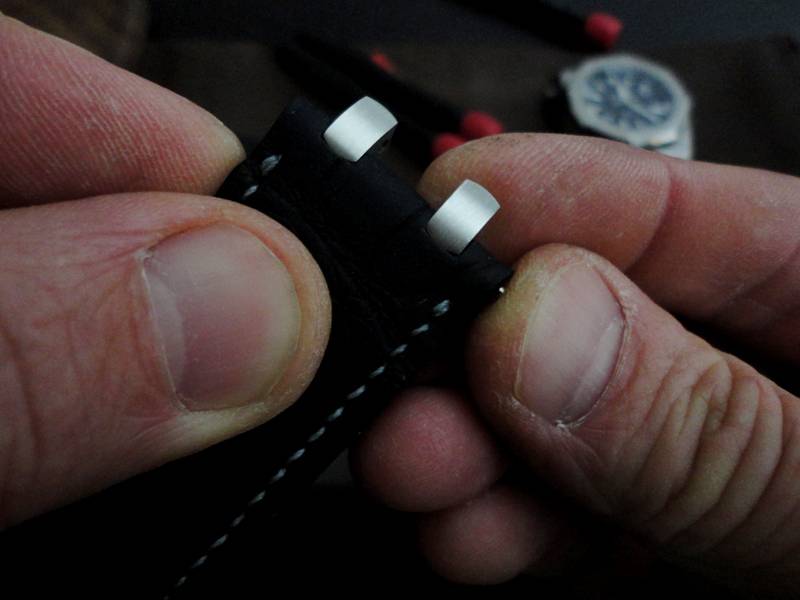
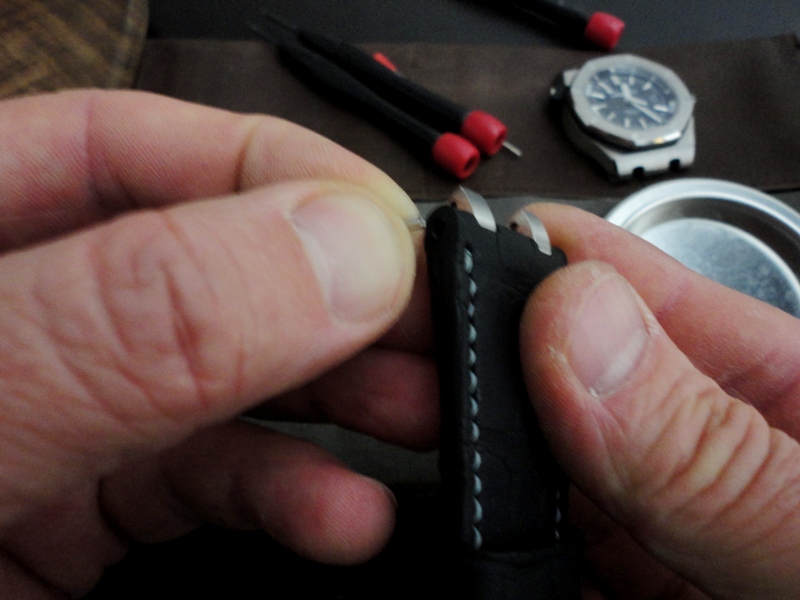
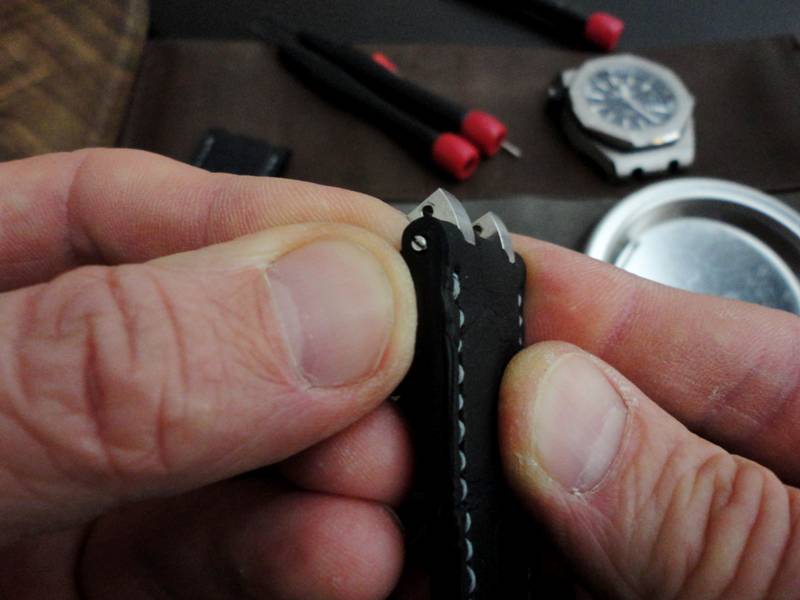
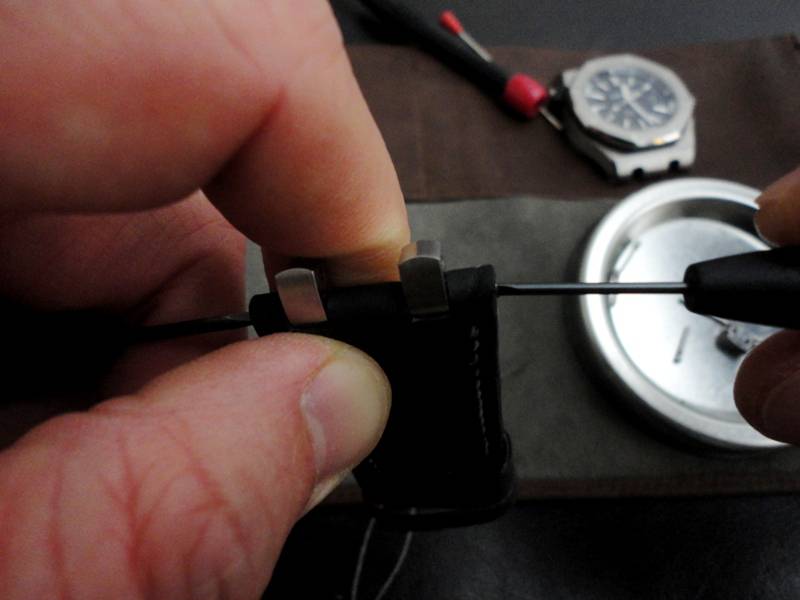
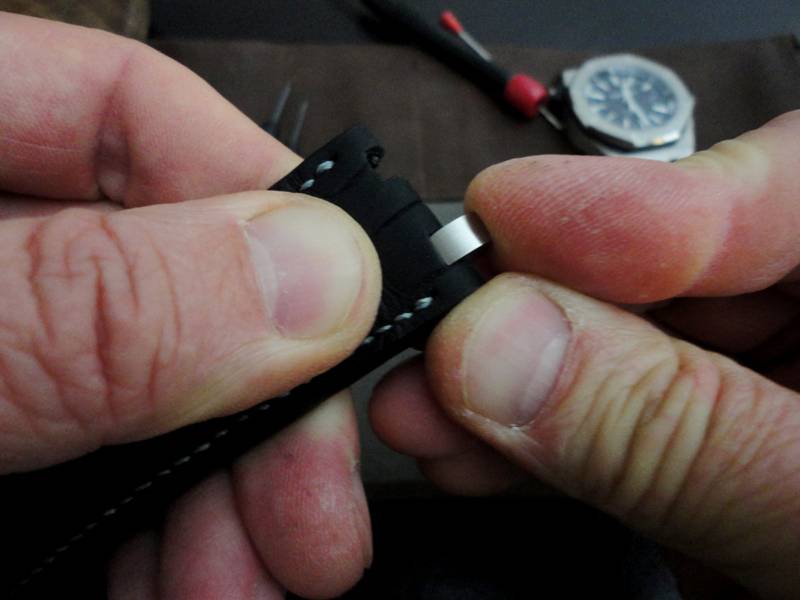
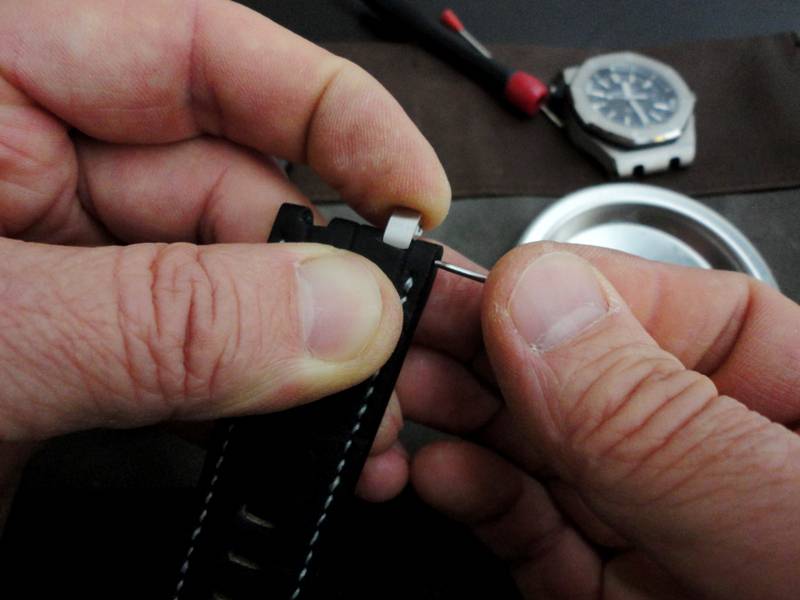
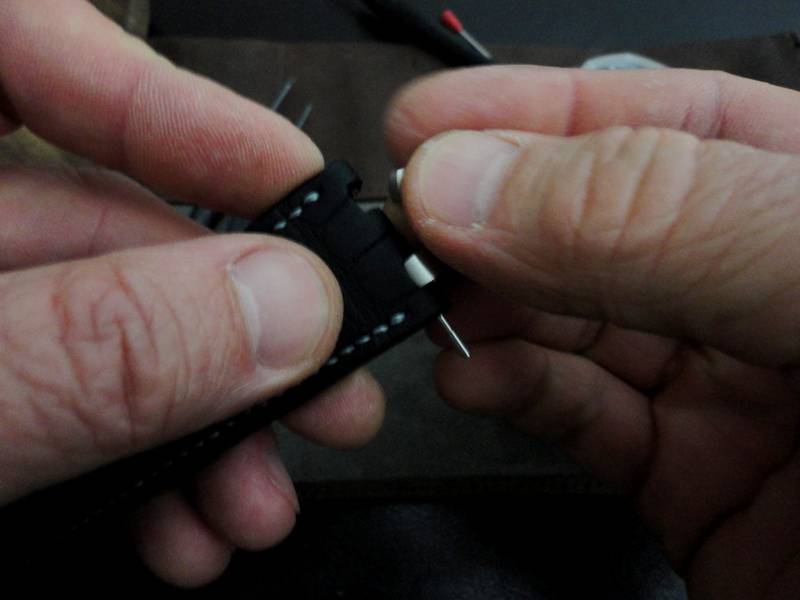
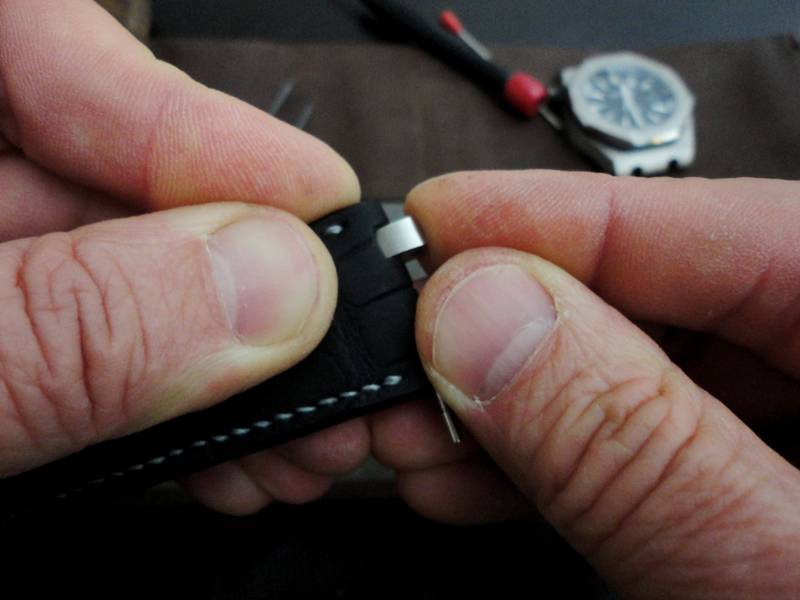
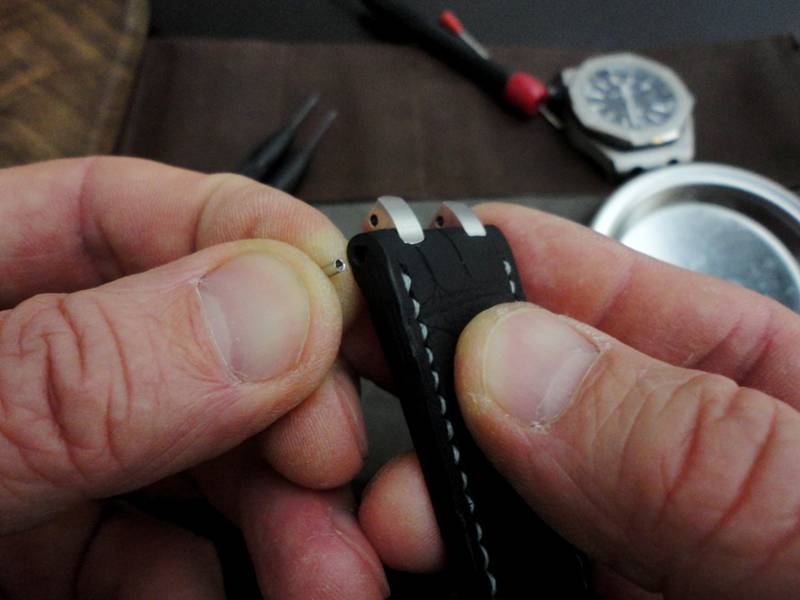
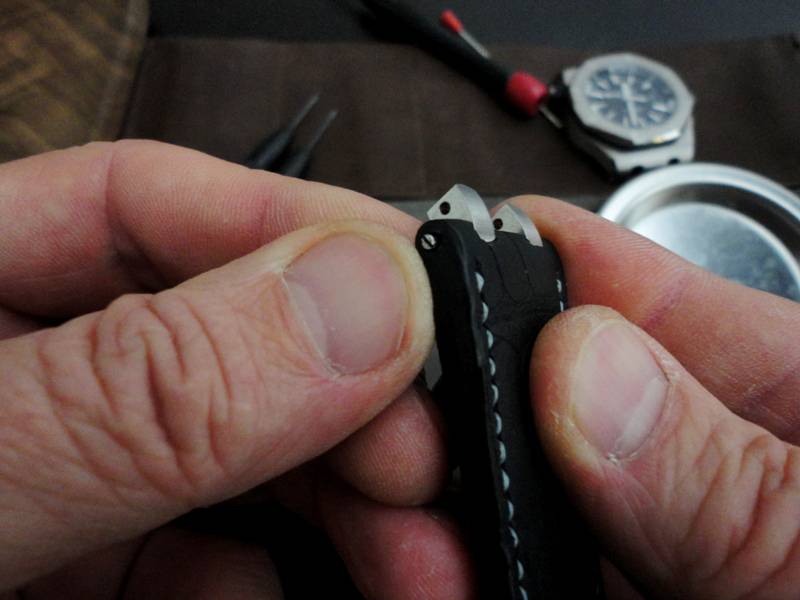
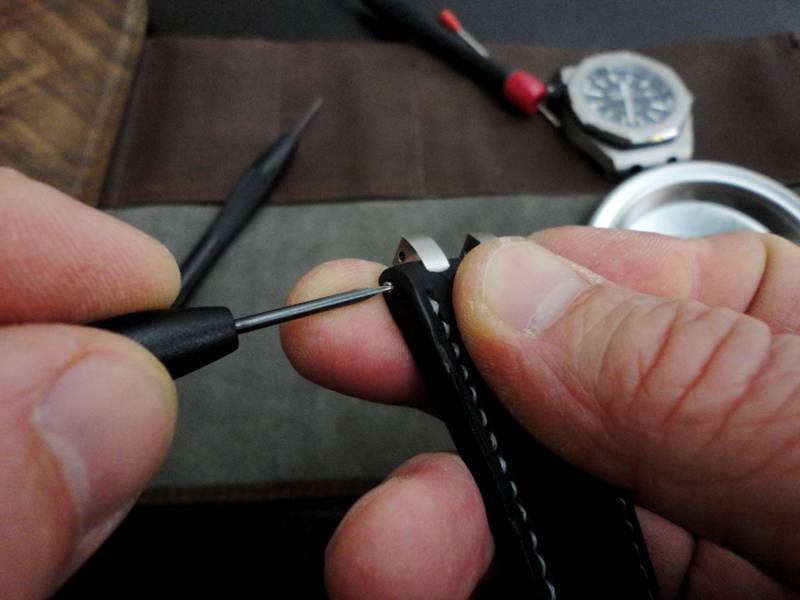
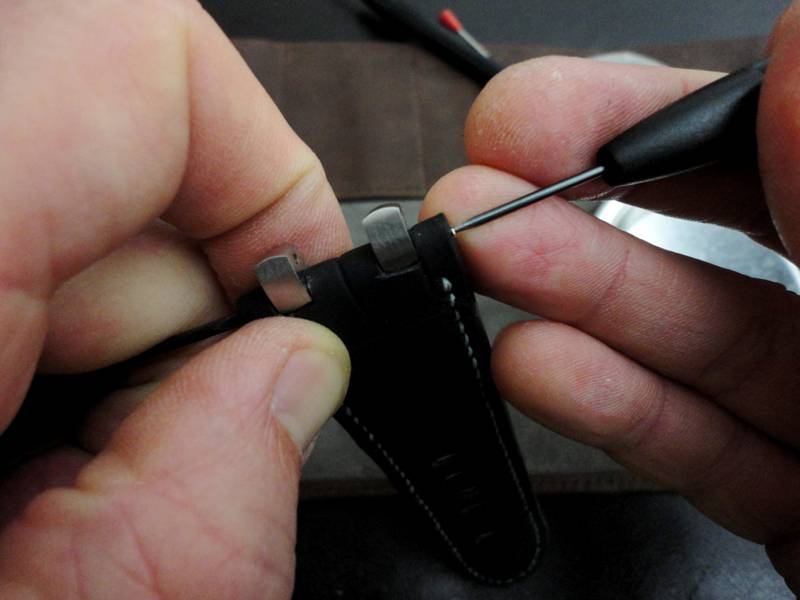
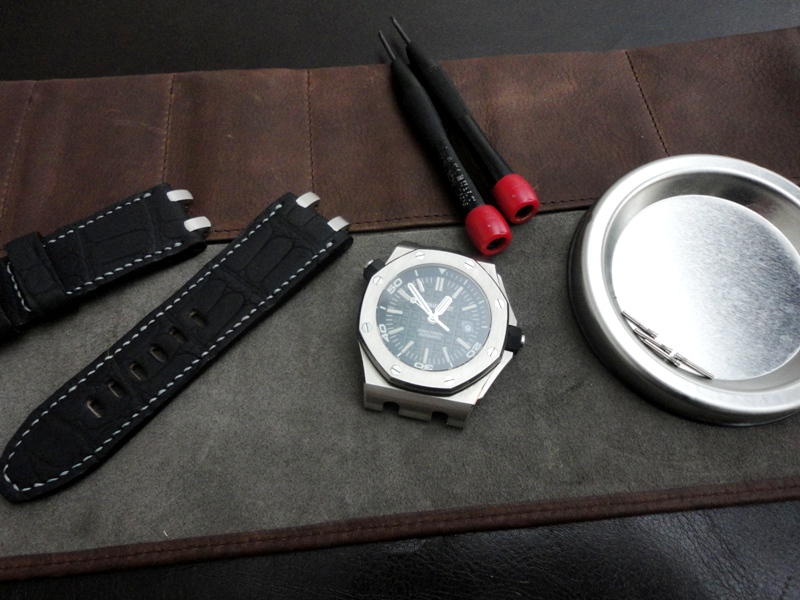
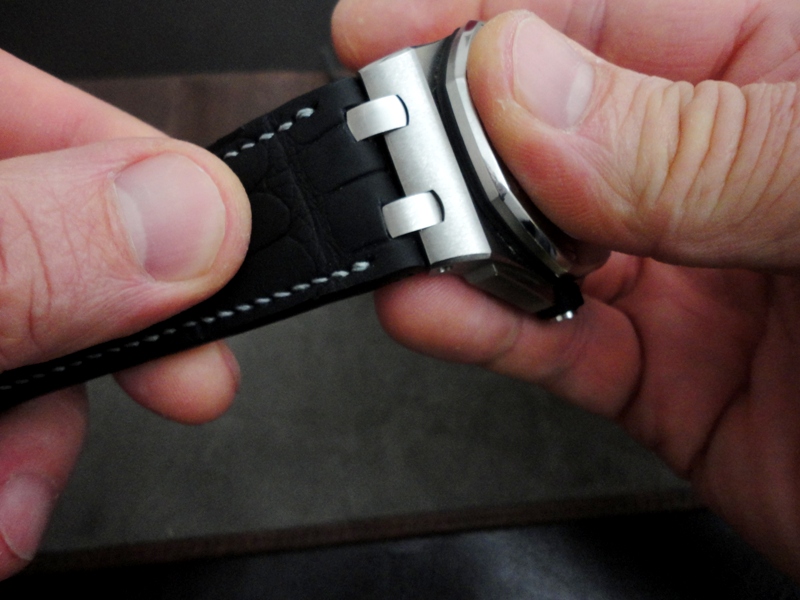
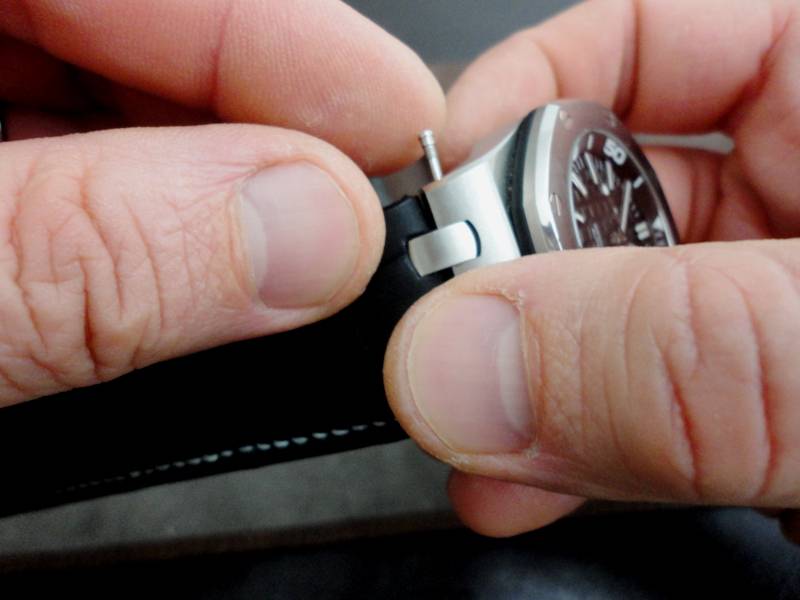
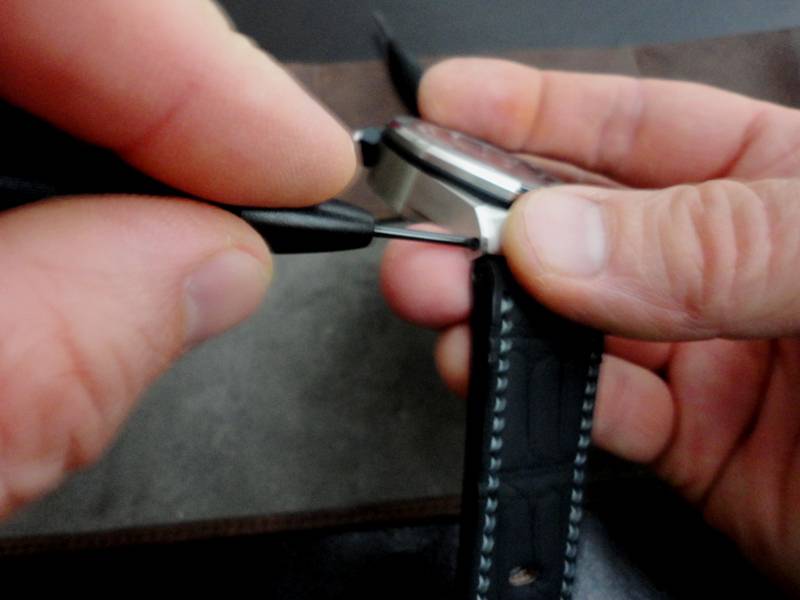
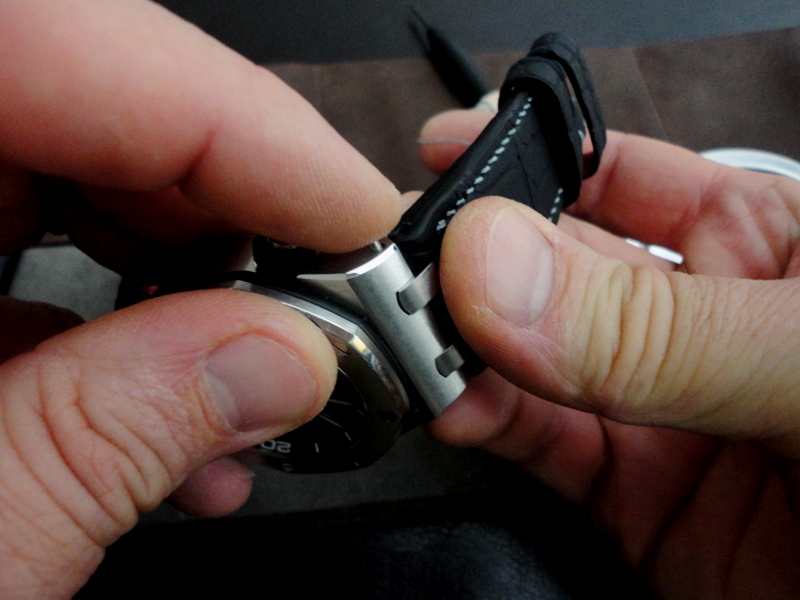
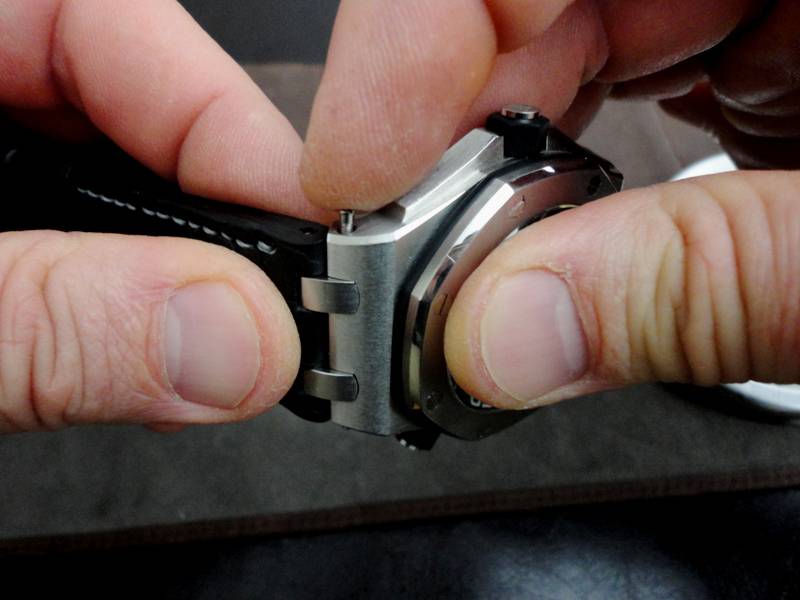
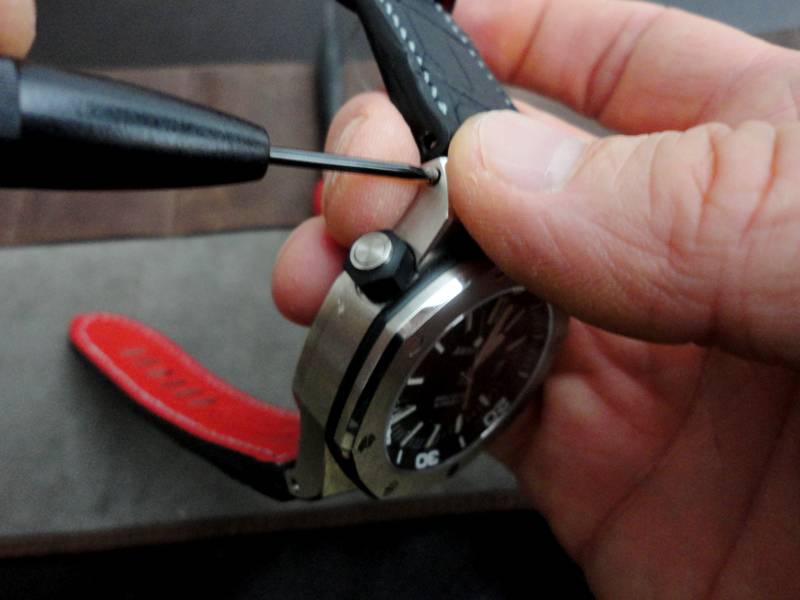
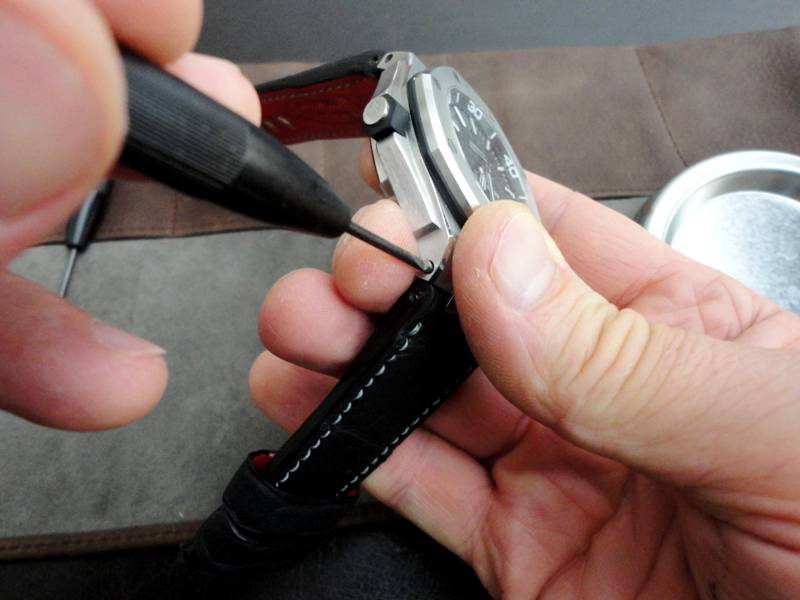
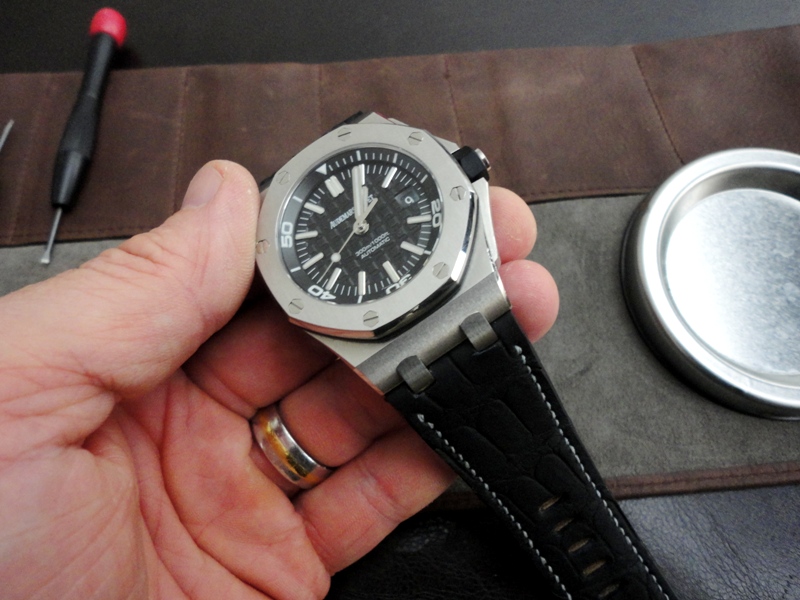
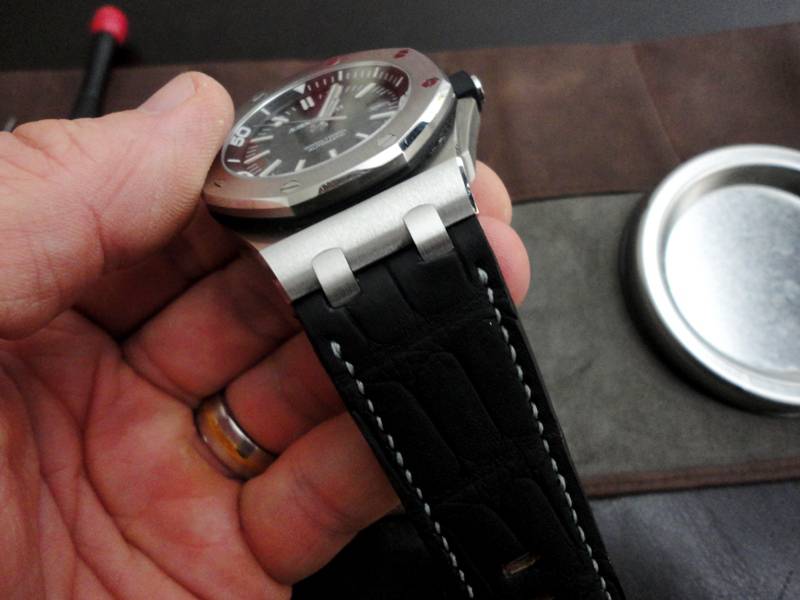
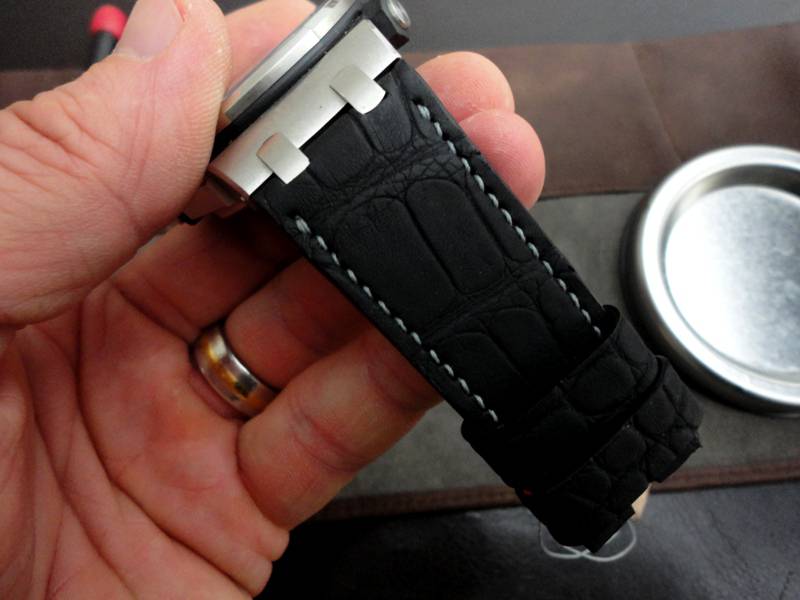
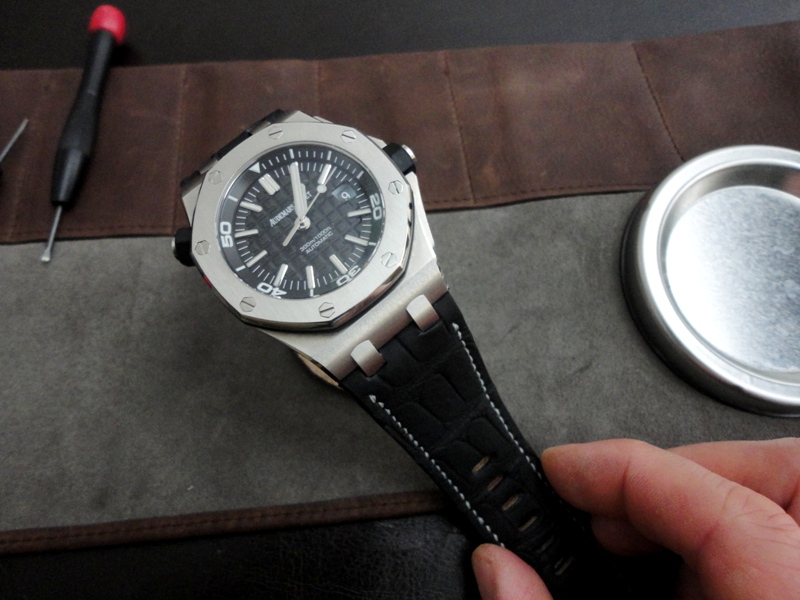
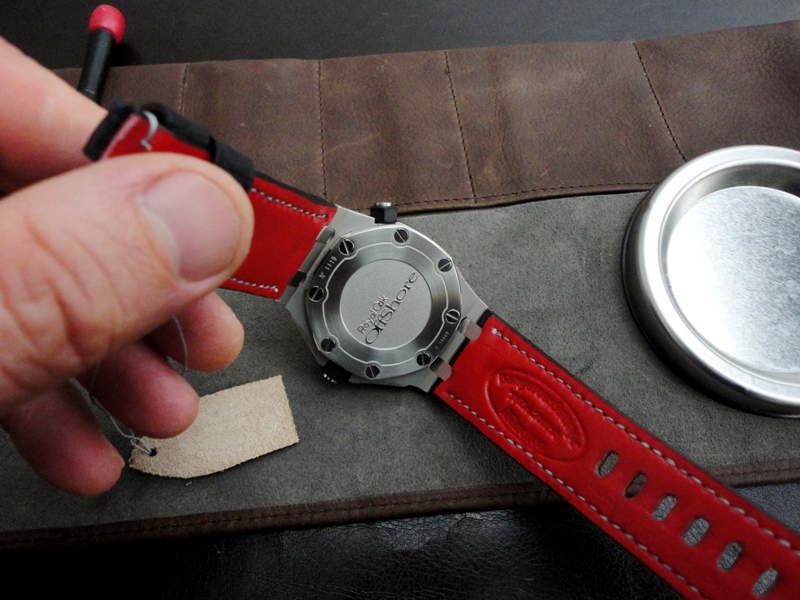
Instructions for mounting Audemars Piguet Royal Oak straps:
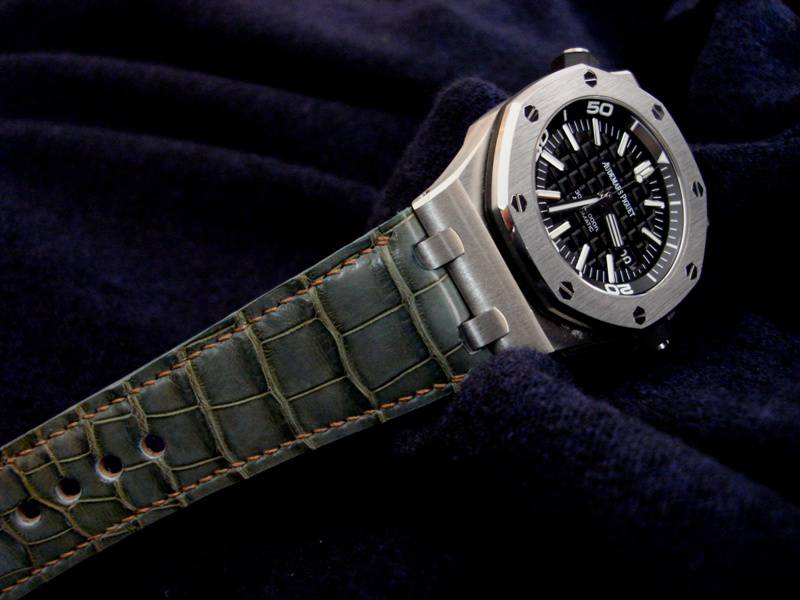
Here is a slideshow of a strap I completed to fit the AP Diver. This instructive photo gallery is how I find that it is best to mount straps on all versions of the Audemars Pigeut Royal Oak. As with all strap attachments, it is important not to use too much force and be be extra careful with watches featuring screw-in attachmet, be use extra caution to avoid damaging the fine threads of the screws:
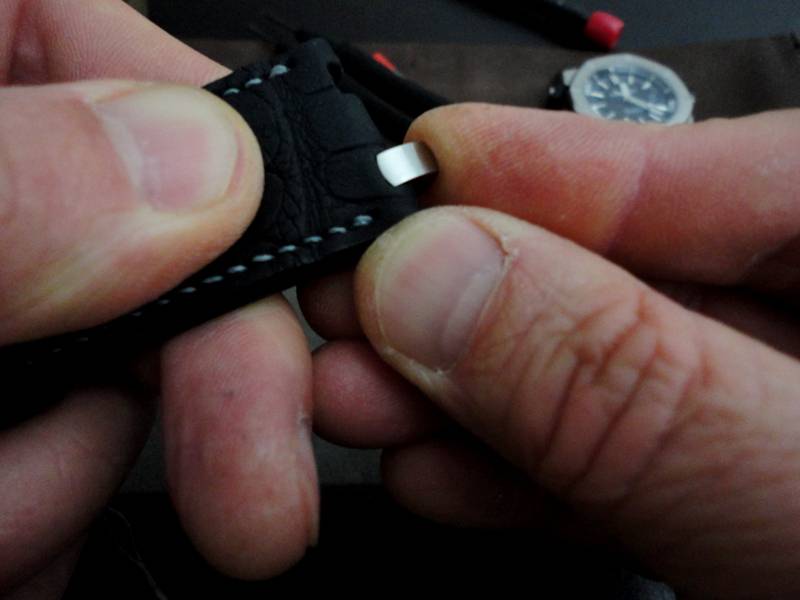
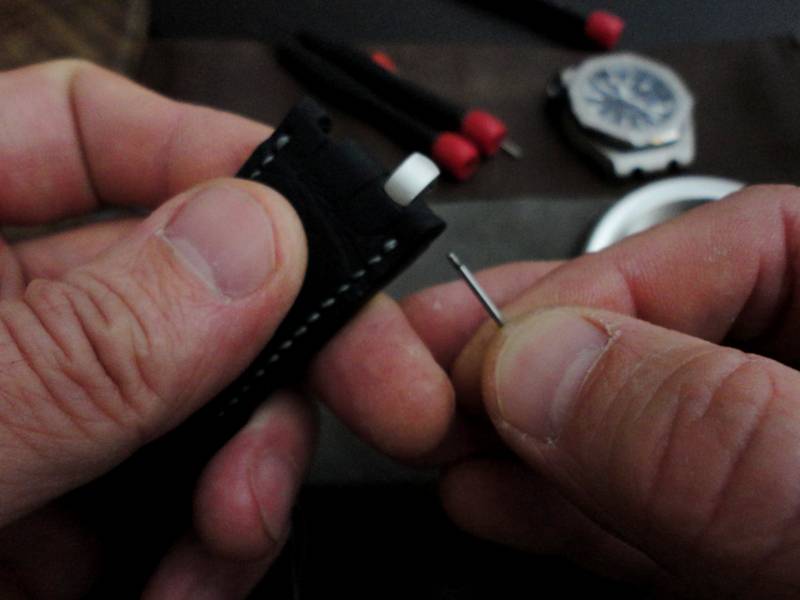


How to attach the long side strap to the ‘D9‘ logo, Inner-fold or Omega Style deployant clasp:
Theses are really quite simple and yet some of our customers have had issues with attaching and adjusting our strap with these clasps correctly. This Trick is to squeeze the strap in a vertical fashion in order to fit the strap under the retaining notches in the clasp and then once the strap is seating into the desired adjustment hole to press the strap firmly down on the adjustment pin in order to make sure that it is fully seated against the bottom of the clasp. This will allow the clasp to close securely with a positive ‘click’ confirming that your clasp is correctly and securely closed and will no inadvertently pop open.
Click on the first photo to enlarge and scroll through:


